Source: https://drive.google.com/drive/folders/1rgsDWjtArEm-cJqOkZRPSQ5sIVORohTi
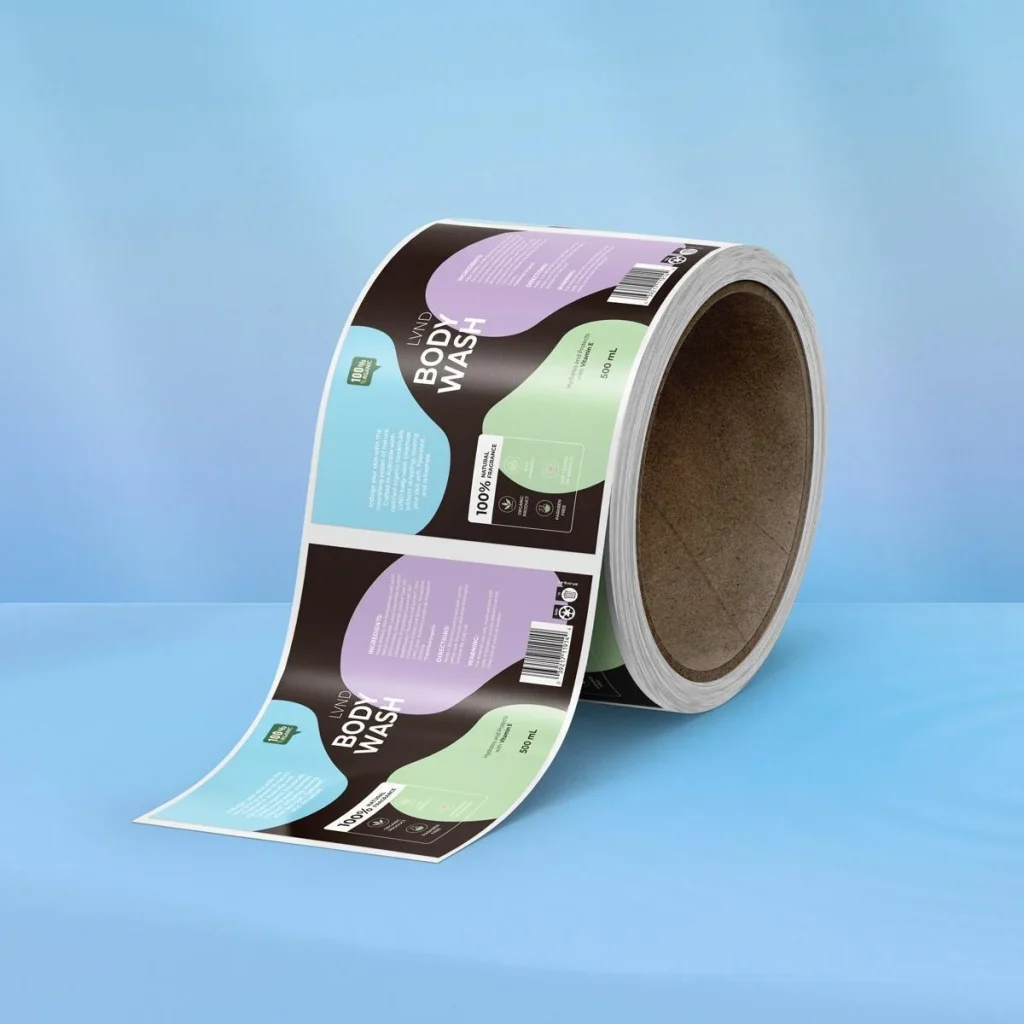
Most people see a label, and that’s about it. Glance at a bottle, read the front, maybe check the back for ingredients or contact info. Done. But the journey from a design file to a sticky, printed label on your product is a lot of small decisions stacked together. Some matter more than others. A few will quietly ruin your run if you get them wrong. Here is a closer look at what happens during label printing once you upload artwork through a self-service platform.
It Starts With the File
Your design lands as a digital file. PDF, AI, EPS, sometimes PNG if the customer doesn’t know any better. The file gets a few quick checks before label printing actually touches a printer.
Things that get reviewed:
- Colour mode (CMYK, not RGB, since print uses cyan, magenta, yellow and black inks)
- Resolution (usually 300 dpi at full size)
- Bleed area (an extra 2 to 3mm around the edge so trimming doesn’t leave a white line)
- Fonts (outlined or embedded so nothing shifts)
- Spot colours (Pantone matches if needed)
If something is off, this is where it gets flagged. A blurry logo or a missing bleed can mean a reprint, and reprints cost time. Catching it early is just smart.
Choosing the Material
Paper is the default for plenty of products. Cosmetics jars, dry food packaging, retail boxes. It looks nice, holds ink well, and works for most indoor uses.
But paper falls apart when wet. So for anything going into a fridge, a shower, an esky, or a bath, you’ll want a synthetic option. BOPP and vinyl are the usual picks. Both shrug off moisture. Both hold up under condensation, oil splattering, and even short submersion.
The right material comes down to where the product will sit and what it has to put up with. Skincare? Probably synthetic. Soft drink in a chilled cabinet? Definitely synthetic. A candle label? Paper does fine.
The Print Itself
This is where digital label printing earns its keep. Older offset and flexo presses are still used for very large runs, but for small to medium batches, digital is faster and cheaper. No plates. No lengthy setup.
A digital press lays down CMYK inks, sometimes with a white underbase for clear or metallic stocks, directly onto the label material as it rolls through. The whole sheet or roll runs in one pass.
A short run might take a few hours from the queue to finish. Longer jobs sit on the press for longer, but the process is the same.
Finishes Add Character
Once printed, labels usually get a finish on top. This is partly protection, partly a look.
The common options:
- Gloss laminate for a shiny, light-reflecting surface
- Matte laminate for a softer, modern feel that hides fingerprints.
- Satin, if you want something between the two
- Varnish for budget jobs that still need some scratch resistance.
A matte finish on a skincare label tends to feel premium without trying too hard. Gloss works for food because it pops on the shelf. There is no single right answer, only what suits the brand.
Adhesive Choices
The sticky part matters more than people realise.
Permanent adhesive is the standard. Once it’s down, it stays. Most retail products use this.
Removable adhesive lets the label peel off cleanly, which suits promotional stickers or short-term packaging.
Freezer-grade adhesive holds at low temperatures, which is what you need for ice cream tubs or frozen meal trays.
Picking the wrong one will haunt you. A permanent adhesive on a glass jar that needs to be reused is not going to win you any customer service awards.
Cut, Check, Pack
After printing and laminating, labels are cut to shape on the roll. They get inspected for ink consistency, alignment, and finish quality. Any duds are pulled out.
From there, they go onto rolls or sheets, depending on how the customer plans to apply them. Hand application usually means sheets. Machine application almost always means rolls with a specified core size.
Then they get packed and shipped.
A Few Things Worth Knowing Before You Order
Some details catch first-timers out:
- Order more than you think you need. Application waste happens. Ten per cent extra is a fair buffer.
- Test a small batch first if the product is new. A proof on screen doesn’t always match a proof in hand.
- Keep your file source. Reorders are smoother when the original artwork is still available.
Even with everything online and self-service, a small bit of planning makes the back end of the process much easier.
Where This Leaves You
Label printing is not particularly mysterious once you see the steps laid out. Artwork comes in. Material is picked. Ink hits substrate. Finish goes on top. Adhesive does its job. The result is a small printed thing that has to survive shelves, fridges, hands, and sometimes a journey through Australia Post.
Getting it right is mostly about understanding what each choice does and matching it to the product. Self-service platforms like LabEX put those choices in your hands without the back-and-forth of an offline supplier.
